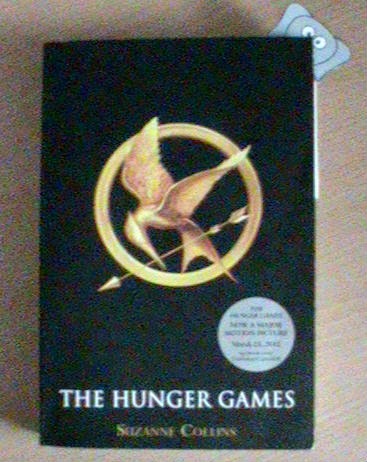
This week I made a few corner bookmarks and decided to create a tutorial so you too can make them.

What you'll need:
- Plain card
- Ruler
- Pencil
- Eraser
- Scissors
- Coloured paper
- Glue stick
1. On the piece of card, draw three squares in an L-formation using the measurements 8 x 8 cm each.
2. Cut out the template, and then cut the triangles off too.
3. Fold the triangles inward. To achieve a more accurate look, score down the drawn lines. You will want to glue down the second fold so the two triangles are stuck to each other.
4. Using the coloured paper, cut out two squares of 7.5 x 7.5 cm. Cut one of the squares in half to form two right hand triangles. You will need one square and one triangle.
5. Glue the coloured shape onto your bookmark to cover up the front white space. The square can go under the flap.
7. You now have a finished corner bookmark. I mounted an elephant onto some card and stuck it on the bookmark like this:
You can find the elephant picture and more here.
____________________________________________________________________________________
Thank you for reading.
Bye!


Such a cute bookmark! I love it.
ReplyDeleteBy the way, I just found your blog and love it. Nice little space you have here. I can't wait to read more book reviews and perhaps hear a bit about life in the UK? I am traveling to the UK for the first time this March, so I am pretty much obsessed with your country right now : )
Hello, thank you for the comment :)
DeleteI can do a post about the UK if that interests you. I hope you enjoy your visit here in March - hopefully our often cold weather will be slightly warmer by then!